1. 序言
前面已经搭建了工程并成功注册到nacos中,这里我们使用生产者消费者模型实现远程调用,并且把config和discovery融合
2. 生产者搭建
2.1. pom
1
2
3
4
5
6
7
8
9
10
11
12
13
14
15
16
17
| <dependencies>
<dependency>
<groupId>com.alibaba.cloud</groupId>
<artifactId>spring-cloud-starter-alibaba-nacos-config</artifactId>
</dependency>
<dependency>
<groupId>com.alibaba.cloud</groupId>
<artifactId>spring-cloud-starter-alibaba-nacos-discovery</artifactId>
</dependency>
<dependency>
<groupId>org.springframework.boot</groupId>
<artifactId>spring-boot-starter-web</artifactId>
</dependency>
</dependencies>
|
2.2. 配置文件
bootstrap.properties
1
2
3
| spring.application.name=cloud-provider
spring.cloud.nacos.config.namespace=spring-cloud-alibaba-center-id
spring.cloud.nacos.config.server-addr=www.liukewen.cn:8848
|
application.properties
注意端口号写在项目配置文件application.properties中比较好,因为生产者需要搭建多台,命名不同的端口号,但是nacos中保存的配置会刷新应用中的配置,所以应当只在应用中配置端口。
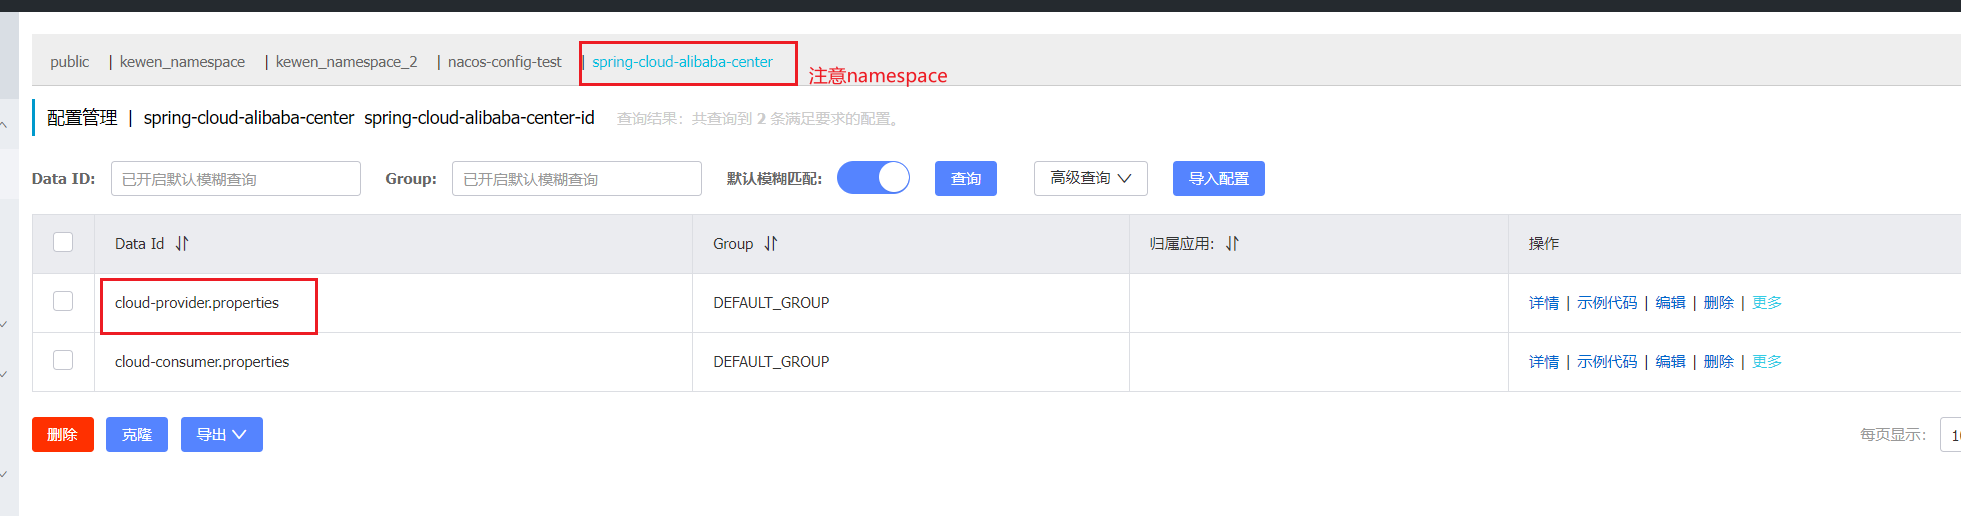
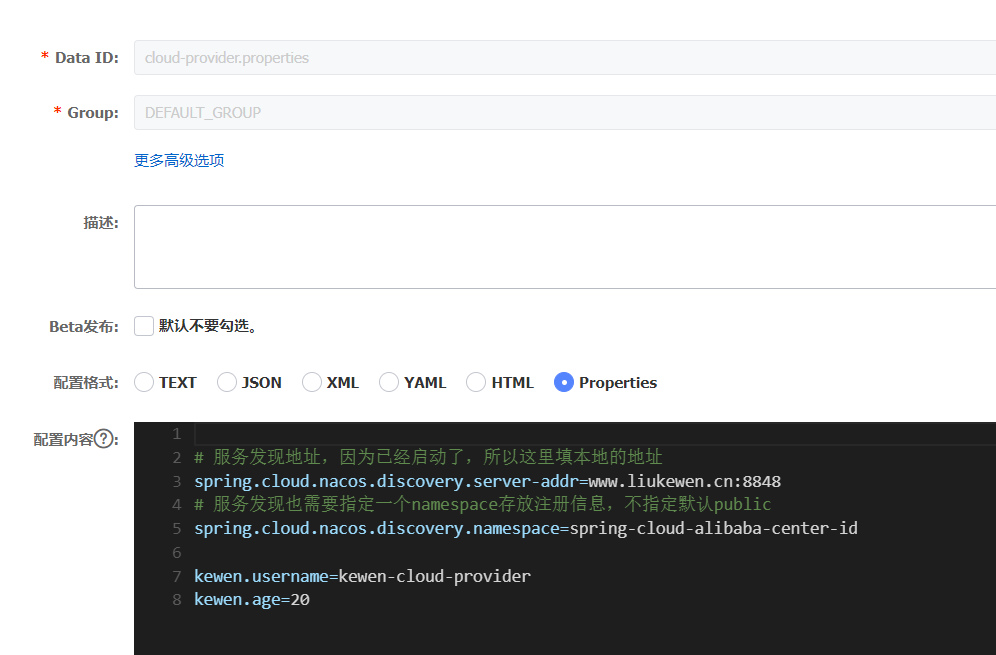
nacos配置
2.3. 启动类
普通spring boot启动即可,配置已经在自动配置starter中配置了
1
2
3
4
5
6
| @SpringBootApplication
public class CloudAlibabaProviderApp {
public static void main(String[] args) {
SpringApplication.run(CloudAlibabaProviderApp.class,args);
}
}
|
注意: 此处不需要添加@EnableDiscoveryClient注解,spring-cloud-alibaba已经帮我们配置好了
2.4. 应用服务
写一个简单的spring-webmvc的就可以了,表示这是一个服务
1
2
3
4
5
6
7
8
9
10
11
12
13
14
15
16
17
| @RestController
@RefreshScope
public class HelloController {
@Autowired
private KewenProperties kewenProperties;
@Value("${server.port}")
private String port;
@GetMapping("/hello")
public Object hello(){
kewenProperties.setPort(port);
System.out.println(kewenProperties);
return kewenProperties;
}
}
|
这是从nacos中获取的配置,注意这里不使用@NacosConfigurationProperties,因为@NacosConfigurationProperties还需要指定dataId,不符合spring-cloud的风格理念,单独在nacos-config项目中使用可以。
整合spring-cloud的config本身就会在配置刷新后通知应用,从而改变应用的值,这里在pring-cloud-starter-alibaba-nacos-config中就已经做好了处理
1
2
3
4
5
6
7
8
| @Component
@ConfigurationProperties(prefix = "kewen")
@Data
public class KewenProperties {
private String username;
private Integer age;
private String port;
}
|
2.5. 启动第二个生产者
第二个生产者只需要在启动的时候换一下port即可,其余不变,这时候就启动了两个相同的生产者
3. 消费者
消费者的搭建和配置几乎一样,只要在使用的地方不一样,这里我们只展示调用的地方
1
2
3
4
5
6
7
8
9
10
11
12
13
14
15
16
17
| @RestController
public class HelloController {
@Autowired
RestTemplate restTemplate;
@GetMapping("/hello")
public Object hello(){
ResponseEntity<Object> response = restTemplate.exchange(
"http://cloud-provider/hello",
HttpMethod.GET,
null,
Object.class,
(Object) null)
;
return response.getBody();
}
}
|
需要注意的是这里的url需要填写spring-cloud样式的请求,否则是不走注册中心的。
以后可以换成*OpenFeign
这里差一个RestTemplate,配置一个,默认是轮询策略
1
2
3
4
5
6
7
8
9
10
| @Configuration
public class ConsumerConfig {
@LoadBalanced
@Bean
public RestTemplate restTemplate() {
return new RestTemplate();
}
}
|
请求调用一下
1
2
3
4
5
6
7
8
9
10
11
12
13
14
15
16
17
18
| GET http://localhost:8011/hello
HTTP/1.1 200
Content-Type: application/json
Transfer-Encoding: chunked
Date: Thu, 24 Aug 2023 03:22:01 GMT
Keep-Alive: timeout=60
Connection: keep-alive
// 返回
{
"username": "kewen-cloud-provider",
"age": 20,
"port": "8001"
}
Response file saved.
> 2023-08-24T112201.200.json
Response code: 200; Time: 7ms (7 ms); Content length: 58 bytes (58 B)
|
两个提供者轮询调用
至此。项目搭建调用就完成了。